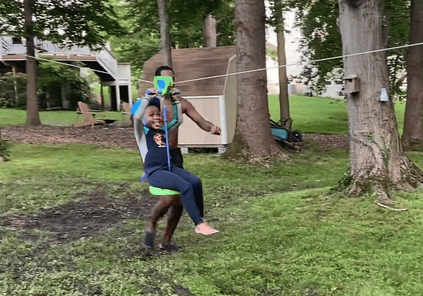
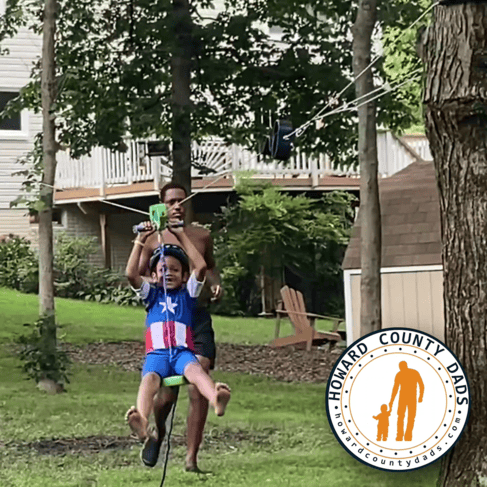
Ever thought of putting a zip line in your backyard? We just did, HearthSong is hooking up another family with a zip line kit giveaway to cure the family’s cabin fever.
Disclaimer: This post is presented by HearthSong and includes affiliate links as a fundraiser for more content & events. Hearthsong provided the zip line kits for our honest opinion, documentation of the installation process, and this giveaway.
Installation Process
Here is the kit we got – 100 Foot Zipline. It took me about 2 hours to get the initial install up and running, but there were lots of adjustments and testing afterward that added another hour. If you are handier, you could probably get this installed within an hour.


Recommended Tools/Tips
Read through the directions thoroughly before planning, and try adding these tools to make your install go more smoothly.
- Use a drill instead of a socket wrench to clamp the lines together
- Have a helper (or two) on a ladder in the middle of the line to pull it as tight as desired
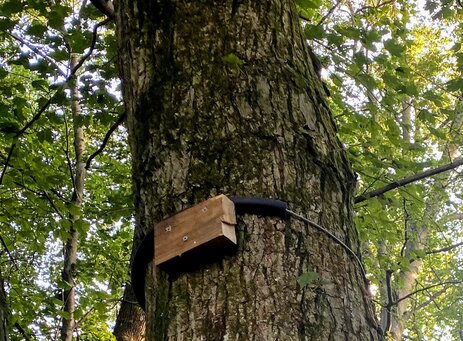
- Place wooden blocks on the trees, under the zip line to prevent it from rolling down

Getting the Speed Right
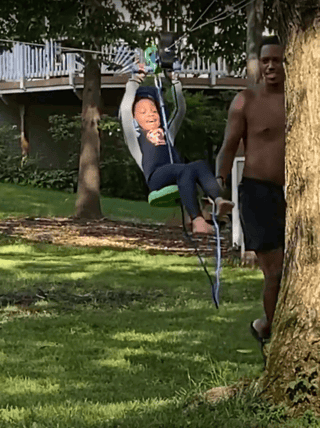
Embrace the sag! My goal from the beginning was to get the line as tight as possible. Straight lines are great for speed, but it is dangerous for the kids to hit the brake at full speed. Loosening the zip line to add sag allows the carriage to slow down for the last 2/3rds of the ride.
Getting the correct speed was painful to test. Wear a cup! I’ve since slowed it down to a safer speed so the kids can ride without us being worried that they wouldn’t be able to hold on through the stop.

Giveaway Sign Up
Contest Terms: Fill out this form for your chance to win your own 150′ HearthSong Zipline Kit. The contest winner must be within 30 miles of Ellicott City, Maryland. Entering subscribes you to our email newsletter. We will not sell or give away your contact information to a third party. It’s as simple as that.
[contact-form-7 id=”29466″ title=”Hearthsong Zip Line Form”]
